Cedar Siding Installation Tips

Spring offers moderate temperatures and less humidity, making it ideal for cedar siding installation.

Summer provides longer daylight hours but requires attention to high temperatures and dry conditions.

Fall's cooler weather and lower humidity levels can help ensure proper siding adhesion and drying.
Ways to make Cedar Siding Installations work in tight or awkward layouts.
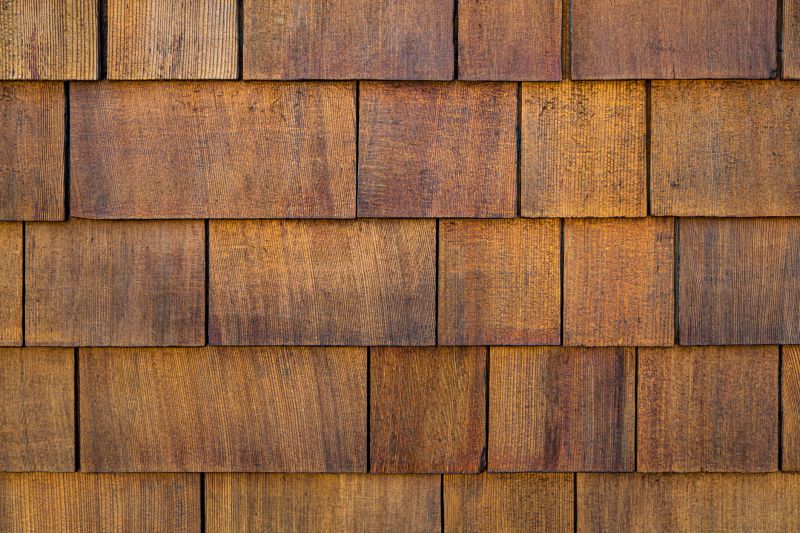
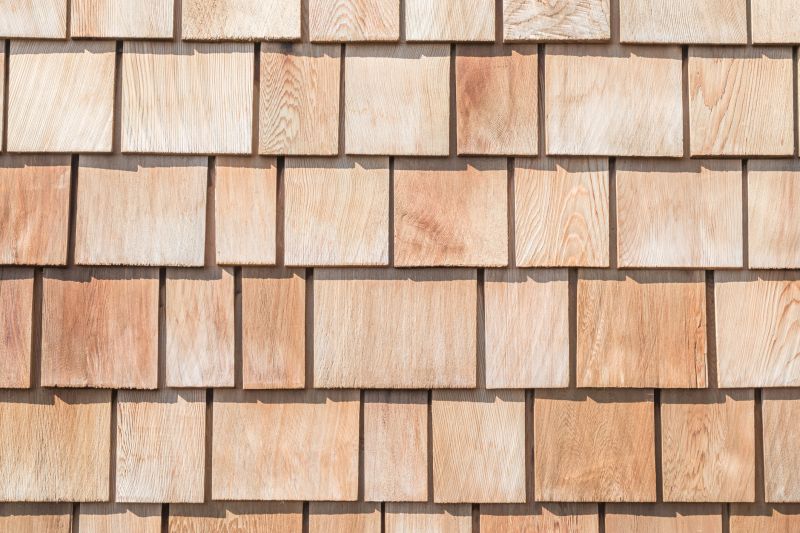
Popular materials for Cedar Siding Installations and why they hold up over time.

Simple add-ons that improve Cedar Siding Installations without blowing the budget.
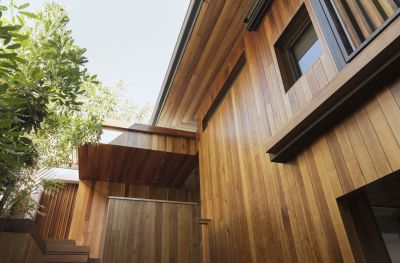
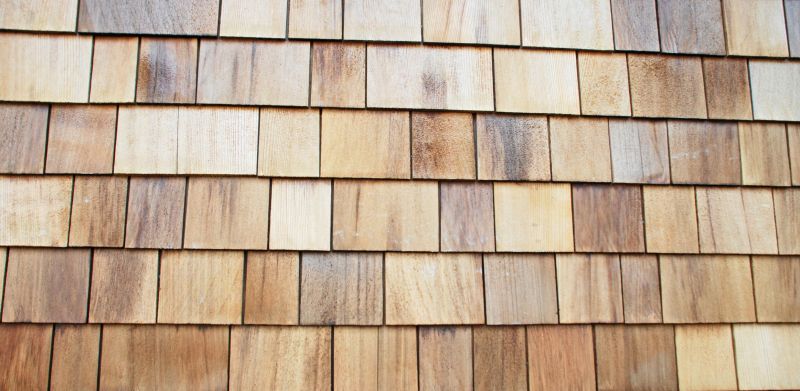
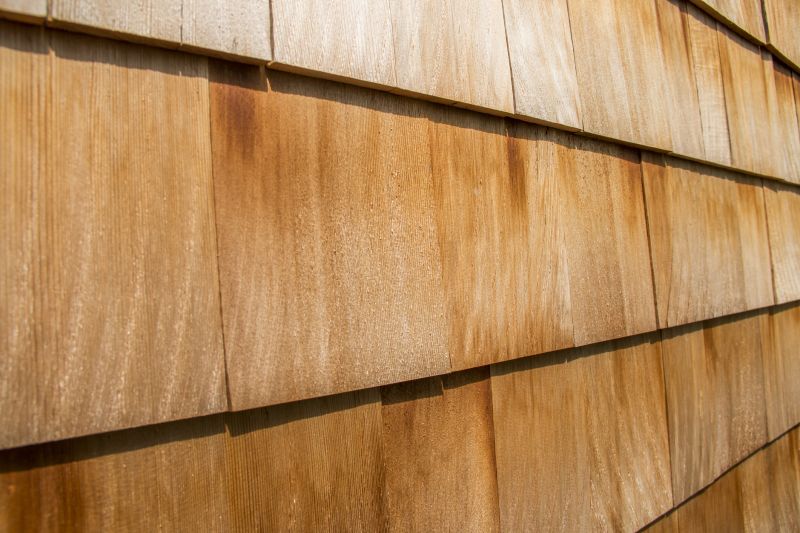
Cedar siding is a popular choice for residential exteriors due to its natural beauty and durability. It is known for its resistance to rot and insects when properly maintained. Cedar siding can be installed in various styles, including horizontal, vertical, and shingle patterns, allowing for customization to match architectural preferences. Proper installation involves careful surface preparation, precise nailing, and sealing to prevent moisture infiltration. Statistics show that cedar siding can last for several decades with regular maintenance, making it a cost-effective option over time.
The optimal timing for cedar siding installation depends on climate conditions and desired project outcomes. Installing during periods of mild weather reduces the risk of moisture-related issues and allows for better application of protective finishes. Typically, late spring through early fall is considered ideal, provided there is no excessive humidity or rain. Choosing the right time can enhance the longevity and appearance of cedar siding, ensuring it remains a durable and attractive exterior feature.
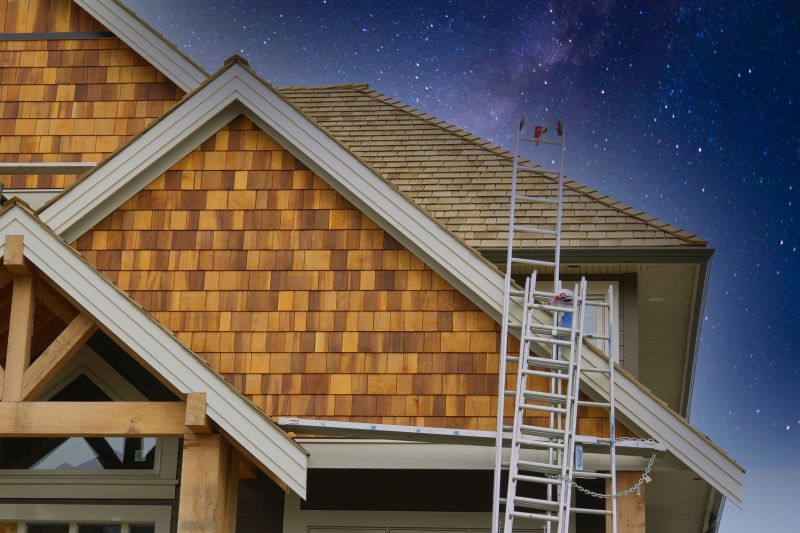
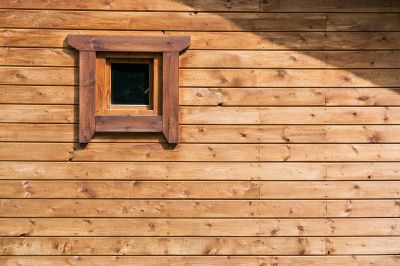
Professional installation involves careful measurement, cutting, and fastening to ensure a secure fit.
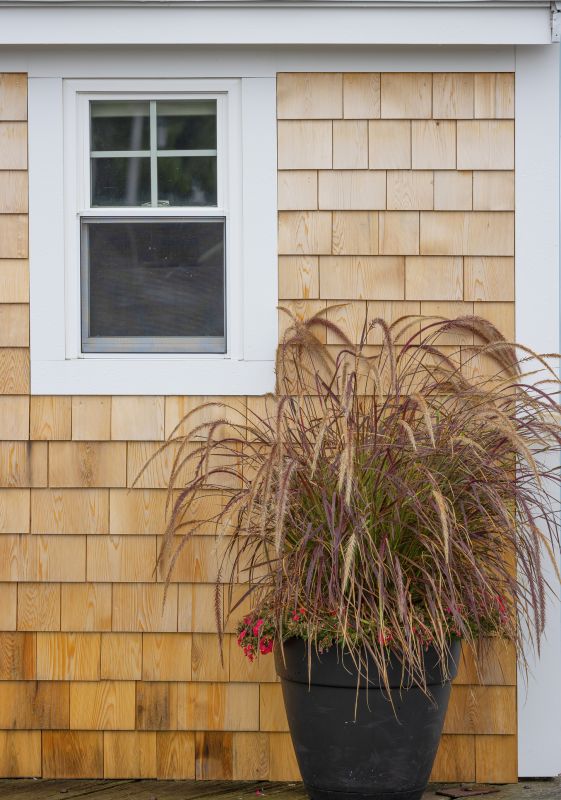
Properly installed cedar siding provides a natural, warm appearance that enhances curb appeal.
Routine inspections and treatments help maintain the siding's integrity and appearance.
The distinctive grain pattern of cedar adds character and texture to building exteriors.
High-end options that actually feel worth it for Cedar Siding Installations.
Finishes and colors that play nicely with Cedar Siding Installations.
| Aspect | Details |
|---|---|
| Optimal Installation Seasons | Spring, Summer, Fall |
| Weather Conditions | Mild temperatures, low humidity |
| Preparation Needed | Surface cleaning, moisture control |
| Material Handling | Store in dry, covered area |
| Installation Duration | Depends on project size |
| Finish Application | After installation, weather permitting |
| Maintenance Frequency | Annually or as needed |
Little measurements that prevent headaches on Cedar Siding Installations day.
A 60-second routine that keeps Cedar Siding Installations looking new.
A frequent mistake in Cedar Siding Installations and how to dodge it.